

![Clay Tile Clip - [Christmas Light Attachment Clip] - Christmas World](http://christmasworld.com/cdn/shop/products/Clay_tile_Christmas_light_Clip_3.jpg?v=1778627435&width=1000)


How I Accomplished My Organization Resolutions in Two Days with the Santa's Bag System
Christmas is America's "favorite" part of the holiday season.
Ask 1,000 people how they organize their holiday decor after Christmas, and you'll walk away with hundreds of "secret" storage solutions.
And let's be honest — you've tried them all:
- Plastic totes
- Ornament craft organizers
- Garage shelving
- Cleaning one room each night
- Even hiring a professional clean-up crew
Yet, you always find yourself back at square one.
On December 26, you cram your tree into its cardboard box, stash gift bags and ribbons into a storage closet, and squish the ornament collection into its off-season hideaway.
It's a vicious cycle you can't seem to escape!
Today, I'm going to tell you how I turned a weeklong Christmas clean-up into a headache-free, two-day system that works: Santa's Bag Storage System.
Your Five-Step Guide to Using the Santa's Bag System to Organize Your Home Decor (And Keep it Organized)

Lounging back with hot cocoa in hand, twinkling Christmas lights overhead, and Home Alone on the TV, I realized. The day after Thanksgiving and the day after Christmas could not be more different.
I had all the time, money, and strategies in the world to turn my home into a Winter Wonderland overnight. But I was suddenly stingy with all those things when it came time for clean-up.
The post-Christmas organization was either too time-consuming, too expensive, or too heavy to tackle on my own. So, I went to the drawing board and came up with Santa's Bag System.
In just two days, you can return tidiness to your garage, shed, and linen closets. No more digging, dumping or climbing over mountains of decor to reach buried family heirlooms.
Keep in mind: This is not a quick fix to your storage woes.
This guide might be a little different depending on space limitations and the type of decor you have. As we go through each step, think about how you can translate it into your home!
By the time you get to step five, you'll be "packing up" your decor just like Santa fills his bag before his worldwide journey on Christmas Eve.
Step One: "The Purge"

Deciding what you need and don't need can feel like a hefty task. But if you put it off every year, your pile of new holiday decor will continue growing, and the reality of long-term organization will only look bleaker with each passing Christmas.
Decluttering
First, take everything out of the space that you want to declutter.
If it's a large space, like a garage, just move what's mobile and loose to the room's center. Feel free to lay down a large mat if your decor tends to collect dust and dirt in the off-season. Otherwise, save some energy for a post-decoration sweep!
Creating Piles
Next, start sorting through the items by creating three separate piles:
- Donate
- Keep
- Maybe Donate / Maybe Keep
It's time to make some organizational decisions.
Begin by going through your "Maybe Donate / Maybe Keep" pile to identify what you haven't used in the past two holiday seasons. If these items still work but simply no longer fit your decorative theme, move them into your "Donate" pile.
Toss your "Donate" pile into a box or bin and move it out of the way. It's time to concentrate on everything else.
Now, do you find it hard to part with the seasonal decor you've had for a while?
I was the same way! I'd find myself staring at individual decorations and having to think about where it'd fit into my set-up. If it doesn't flow naturally, you're probably forcing yourself to use this decoration — it belongs in the "Donate" pile.
Step Two: "Divide and Conquer"

"Categorize, sub-categorize, and repeat" is the mantra.
As I was dumping my outdoor Christmas display in the basement, I noticed it was "organized" between a giant Easter egg and a spooky pumpkin on either side. How can you possibly organize your Christmas decorations when you're co-mingling all holiday decor?
The first thing you need to do is to separate your decor by holiday:
- Christmas
- Halloween
- Easter
- Valentine's Day
- And any other holiday you decorate for
Then, turn those categories into more specific subcategories. For Christmas (which is why you're here), create separate piles for:
- Ornaments
- Wreaths
- Garland
- Artificial trees
- Tree toppers
- Tabletop decor
- Seasonal blankets and pillows
- Lights
Now, separate each category even further: Fragile vs. not fragile. Then by size, which will come in handy when we get to step five, you'll need to decide on a storage solution.
Ornaments
We've all spent hours looking for that one ornament that'll tie the entire theme and tree together. Finding your favorite decorations is less trivial if you sort your stash by:
- Large: 6" or oddly shaped
- Standard: 4"
- Small: 3" and smaller
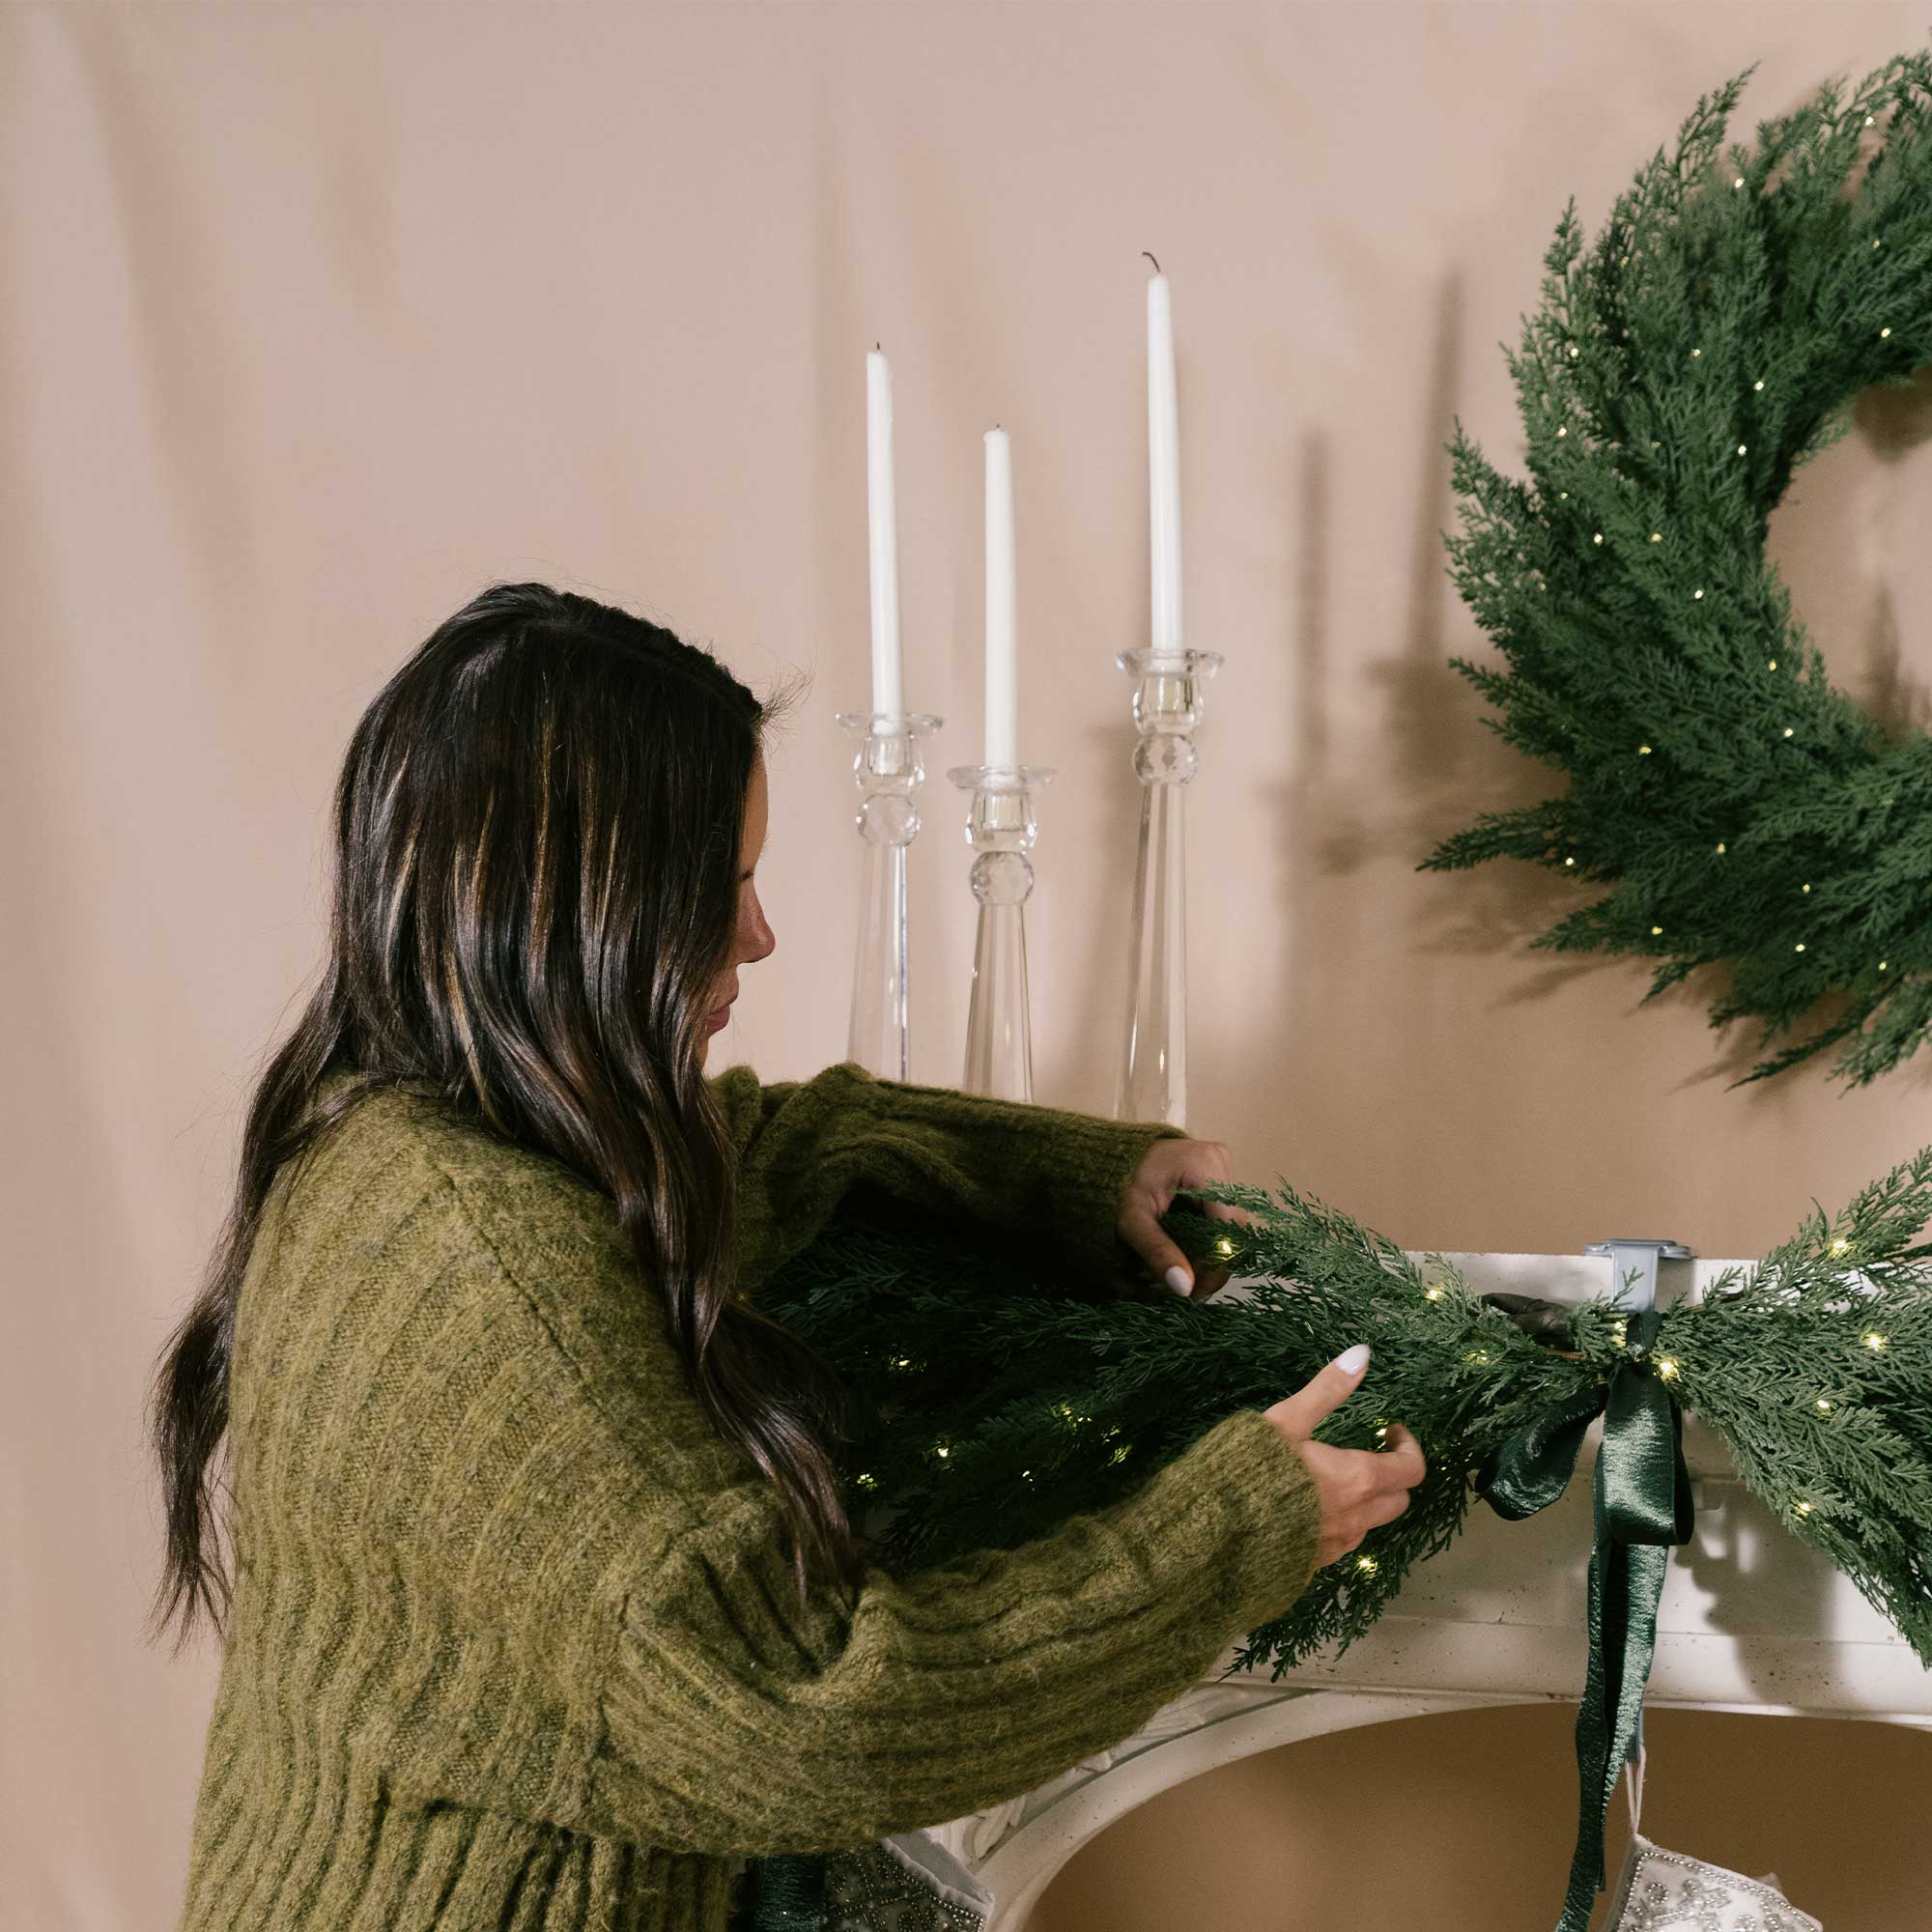
Wreaths
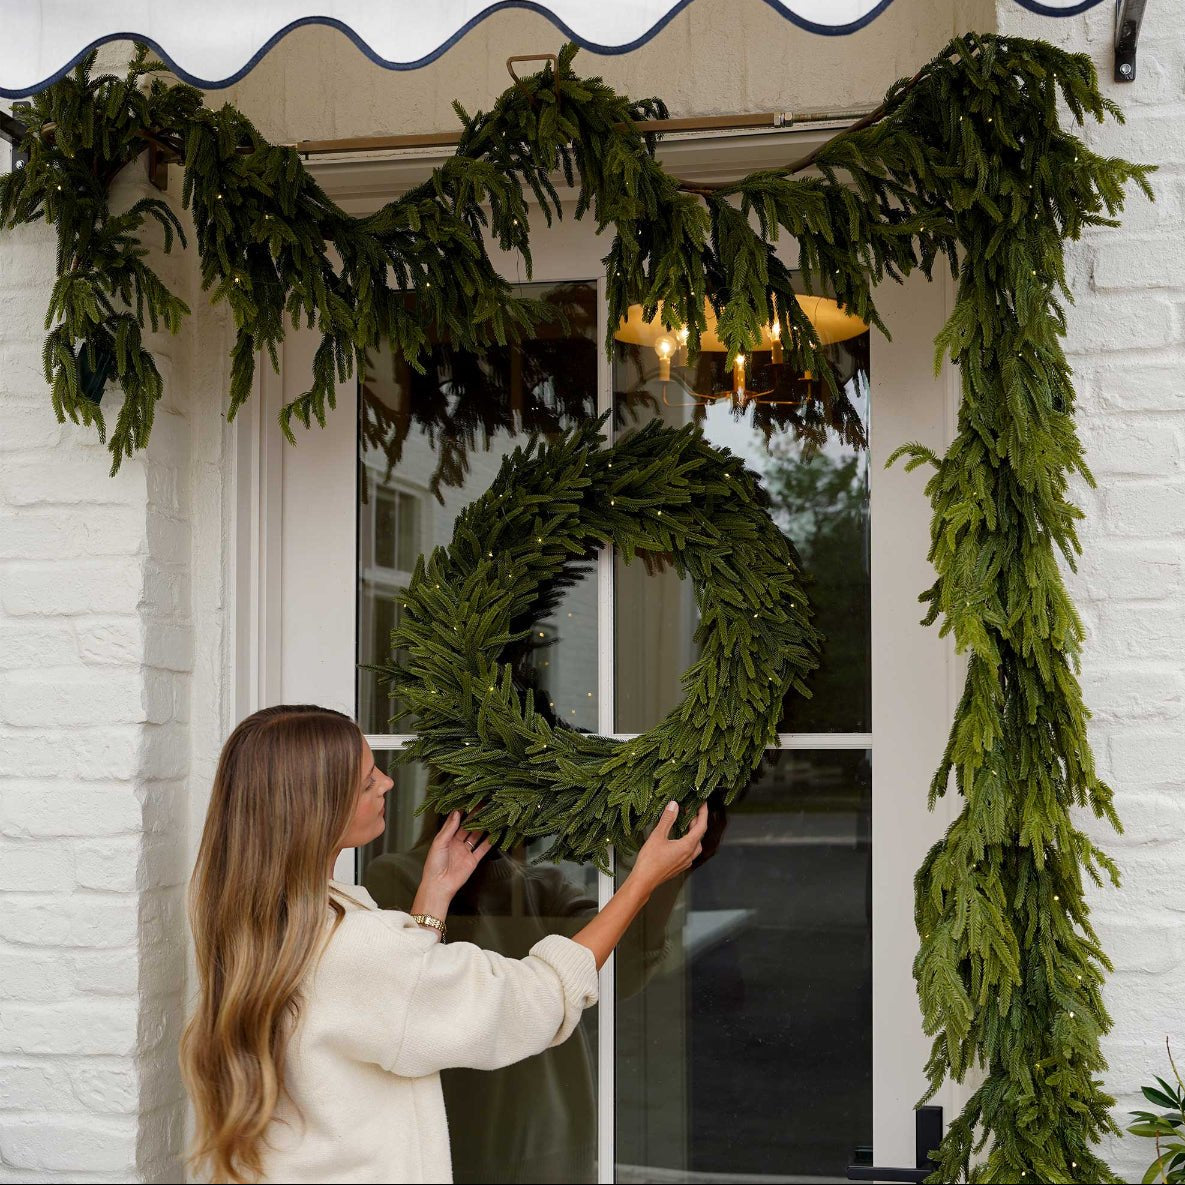
The best way to organize wreaths is by size. Wreaths are typically 30"-36", but can vary widely in size anywhere from 24", 48", 60", and 72". When you don't have to dig through a pile of wreaths to find the one for the front door, you can prevent damage.
Artificial Trees
My favorite optical illusion at Christmas time is seeing an artificial tree stored neatly in its original cardboard box but never fitting into that same box again. But alternative storage solutions are notorious for allowing moisture or dust to settle on the tree (hello, allergies).
It's time to take tree measurements to find the right storage bag that protects your tree year-round. Whip out a measuring tape and note the circumference, height, and "fullness" of the tree, all while assembled.
Doing so can add longevity to your tree and make disassembly easy!
If you have a too-wide tree or full tree, you may need to bump your storage bag up a size.
A Final Word for Step Two
The possibilities are endless when it comes to categorizing your Christmas decor. However, separating your items into these three main categories (ornaments, wreaths, and trees) will handle the brunt of your post-holiday organization solutions.
Step Three: "Ditch the Damage"

Unfortunately, Christmas decor isn't as rough and tumble as it may seem. One poorly-padded box was all it took to shatter my favorite homemade ornament from the 3rd grade. From that day forward, I promised myself that I'd never cut corners when organizing my decor again.
You likely have most of your decorations in a storage box already. But one of the most important things to consider is discovering storage solutions that last well into the future.
As it turns out, many seemingly harmless storage solutions are doing more harm than good.
That post-holiday rush to clean-up — including artificial trees stuffed into boxes and wadded up rolls of newspaper to protect fragile ornaments — can cause damage like:
- Newspapers and tissue paper contain acidic chemicals that can damage your glass and plastic ornaments over the years.
- Keeping your artificial tree in its original box can damage the tree branches, as the tree can rarely size down to its original packaged state.
- Storing your holiday wreaths loose in your storage area can irreversibly crush the bottom of your greenery.
Don't forget to get rid of anything that might ruin your Christmas items' aesthetics or longevity!
Step Four: "Opt for Optimal Storage"

Up until now, you've probably been following these steps to a T.
This fourth step is where you'll start blazing your path, as it requires more of a personalized approach. While there are no truly "right" answers in the world of Christmas storage, there are indeed "wrong" answers!
In this section, I'll explain some of the most common seasonal decor storage mistakes for:
I'll tell you precisely why your current DIY storage solutions might be doing more harm than good. And I'll let you in on a few secrets as to which storage solutions will be best for your organizational needs for years to come!
Now, let's dive into my favorite organizational tactics!
Ornaments:
Avoid Potential Damage
As far back as elementary school, we learn to protect our fragile clay ornaments by wrapping them with newspaper or tissue paper. It's a great DIY strategy to prevent breakage on the bus ride home.
But the dye in both paper options contains acidic chemicals that can transfer onto the ornaments while they're sitting in the storage container. These chemicals can wear down on the materials, jeopardizing their quality and beautiful coloring.
In addition to causing discoloration and possible breakage, using paper products to store your ornaments compromises the storage space you'd gain from using an option with dividers.

Mold can also wreak havoc on makeshift paper storage. Cardboard boxes and paper storage offer no protection from moisture. And when stored in humid, damp, or even cold areas, water can lead to mold and gross ornaments!
According to xerox.com, most paper has 4-6% moisture content. In other words, water makes up 4% to 6% of the paper's weight. This moisture content means the paper can absorb more moisture and break down while in storage, causing mold to make itself at home.
While you don't necessarily need a waterproof storage option to protect your ornaments from moisture, it's best to steer clear of any materials that could trigger a potentially moldy situation — like tissue paper, newspaper, or cardboard.
Opting for storage designated for ornaments can alleviate any worry that heirloom and irreplaceable family ornaments collected over the years will be discolored, smashed, broken, or damaged during storage.
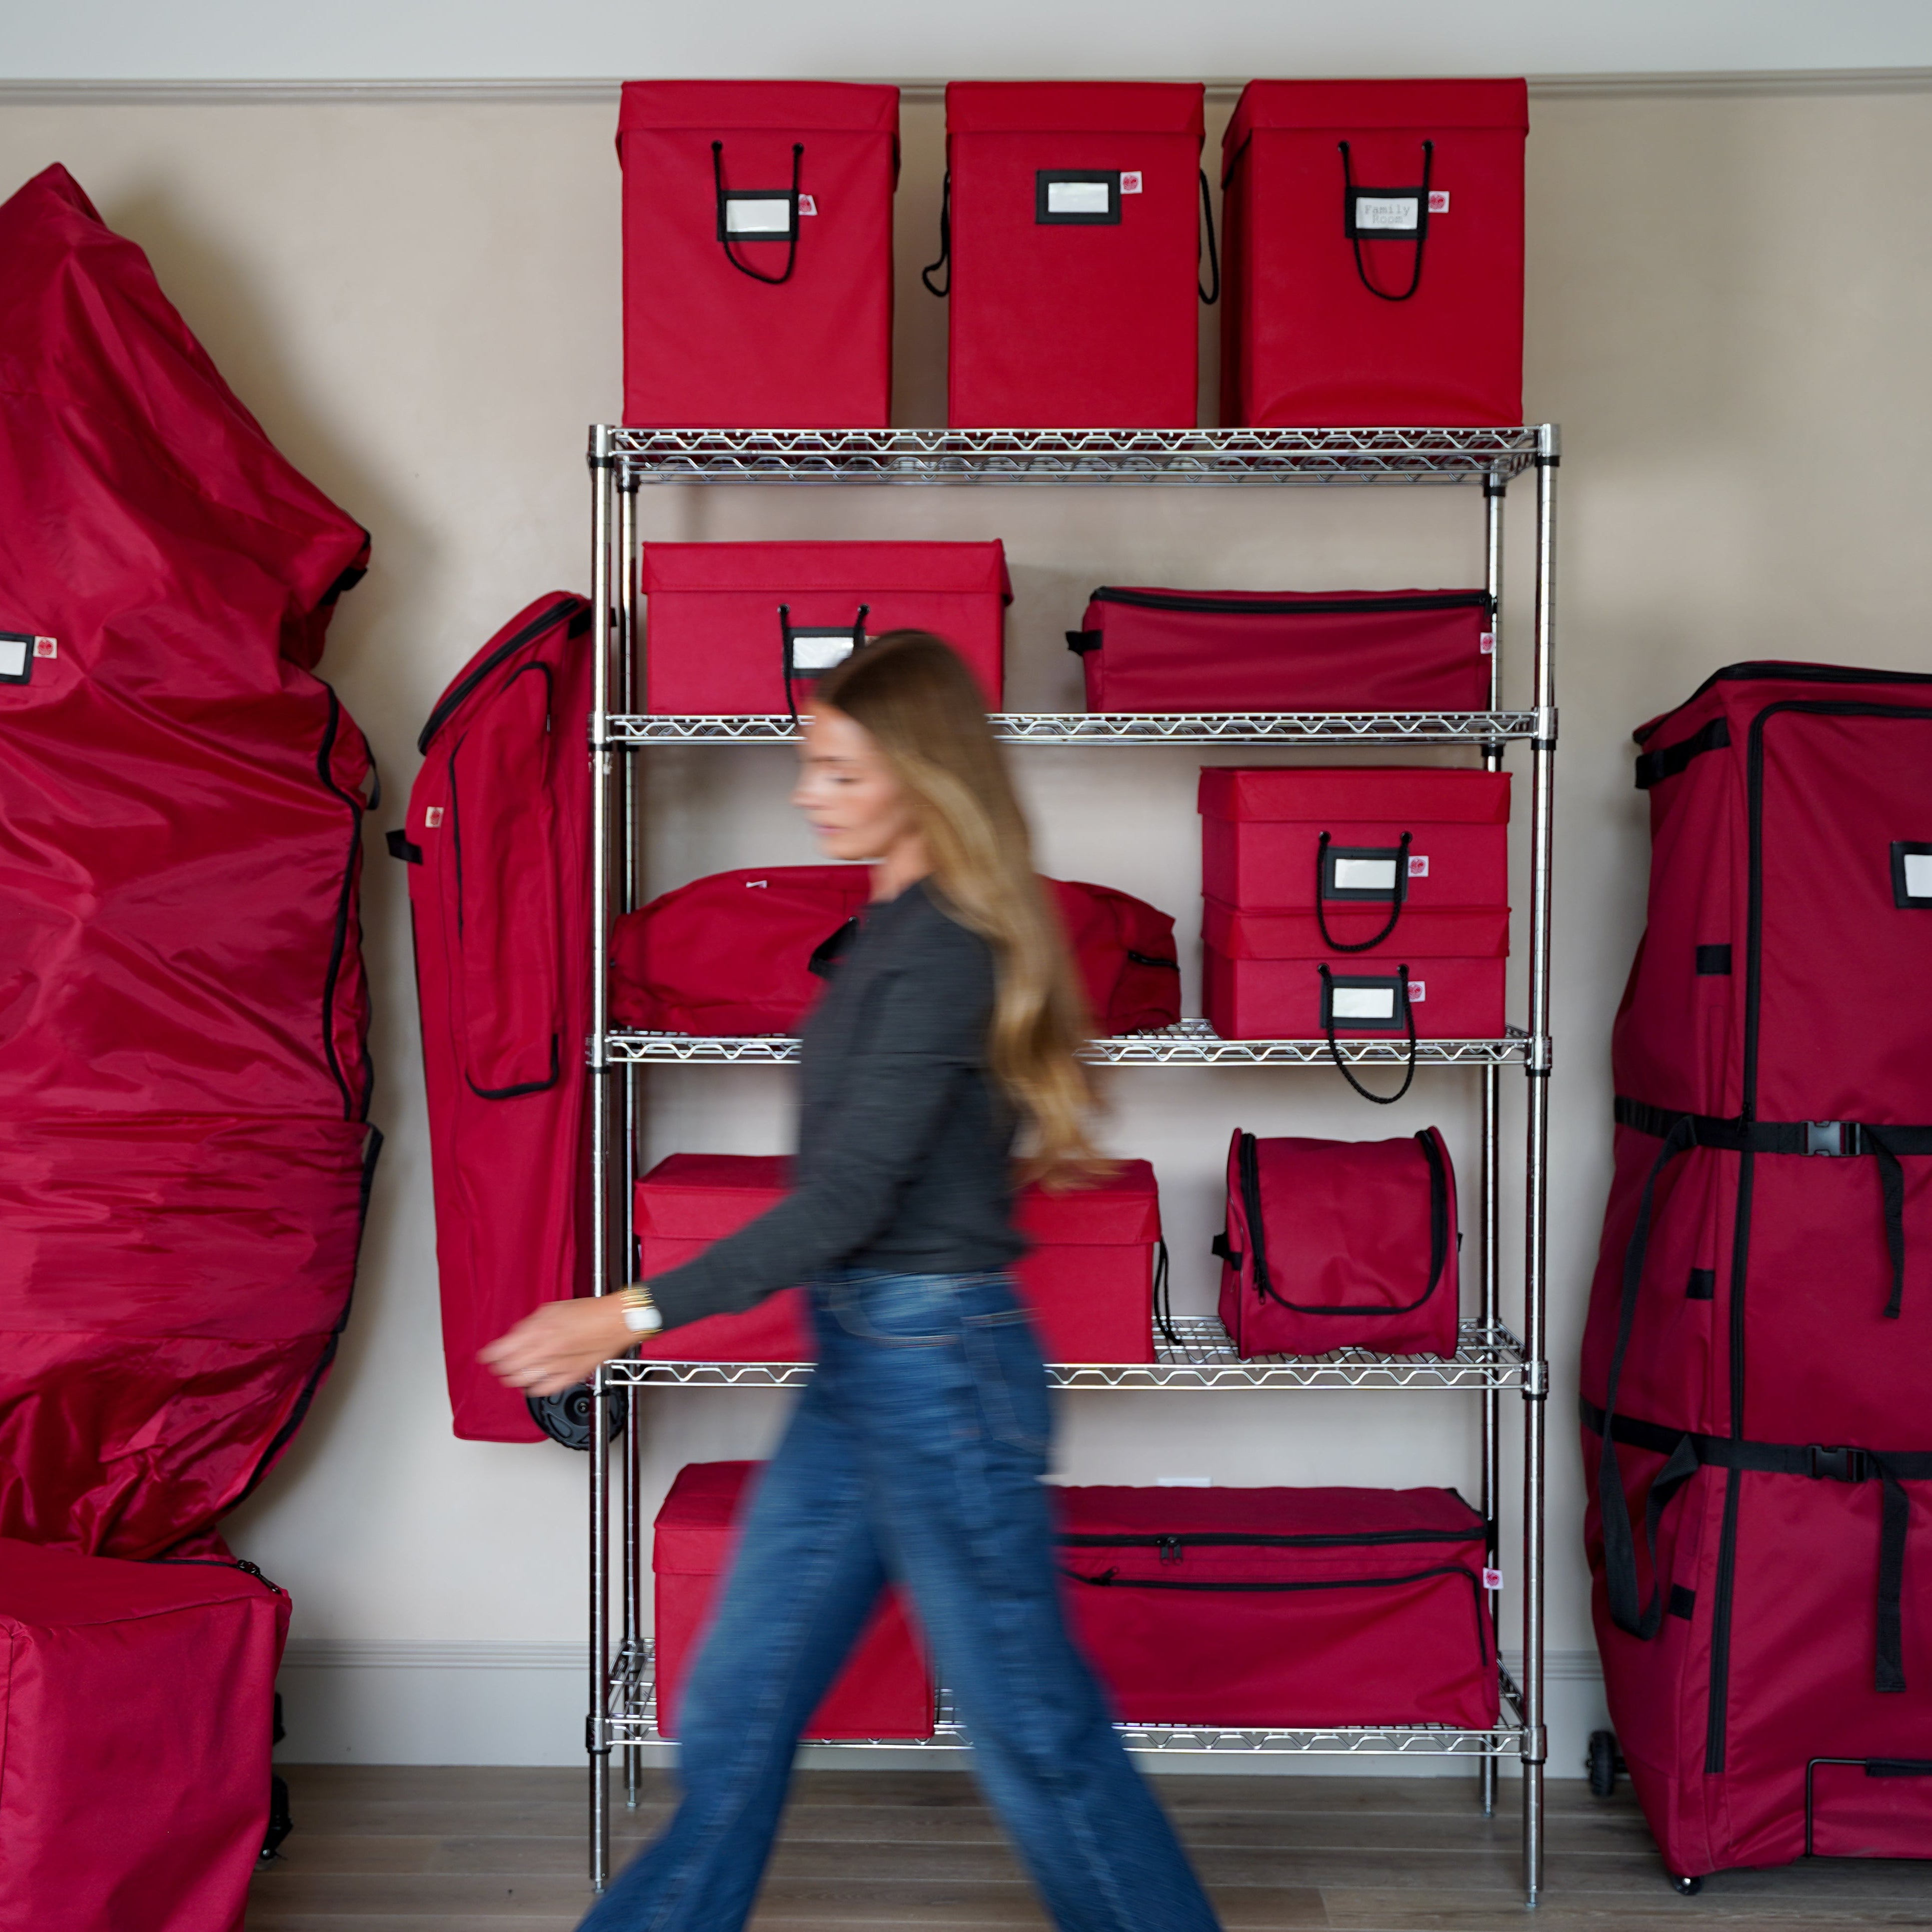
Solution: Stack-Friendly Storage
The Adjustable Tray Ornament Storage bag, by TreeKeeper Bags, allows your ornaments to be cushioned and separated from one another in the acid-free fabric that hangs from adjustable divider rods.
The bag holds ornaments, both small and large, in six-inch deep trays. And the adjustability of the ornament bag allows you to store even larger, oddly shaped ornaments safely.
Bags like these are perfect for any storage space because they're stackable, which is ideal if you live in a tiny apartment.
Opting for a storage solution like this one keeps your ornaments free from harsh dyes and transferable chemicals, as well as safe from breakage. Not to mention it's incredibly portable for round-the-tree decorating!
Limited Space Storage Solution
A slightly more cost-effective and space-sensitive storage option is the Three Drawer Ornament Box, which features a smaller build for 3-inch ornaments. The three trays offer acid-free protection for 72 glass ornaments in separated dividers that keep your decorations intact throughout the years of storage.
One bin might be all it takes for a tree's worth of fancy ornaments!
Greenery:
Avoid Potential Damage
Are you tired of constantly "froofing" up your Christmas garland and wreaths after you dust them off from their old storage box? So was I! No matter how much I dusted or fluffed my favorite wreaths, they hardly resembled their original look by the time Christmas came to town.
Wreath bottoms and garland branches can be irreversibly crushed and smashed at the wrong end of a multi-use storage box. And they can never quite regain their plush fullness. You wind up with a distorted, oblong shape that looks nothing like a circle.

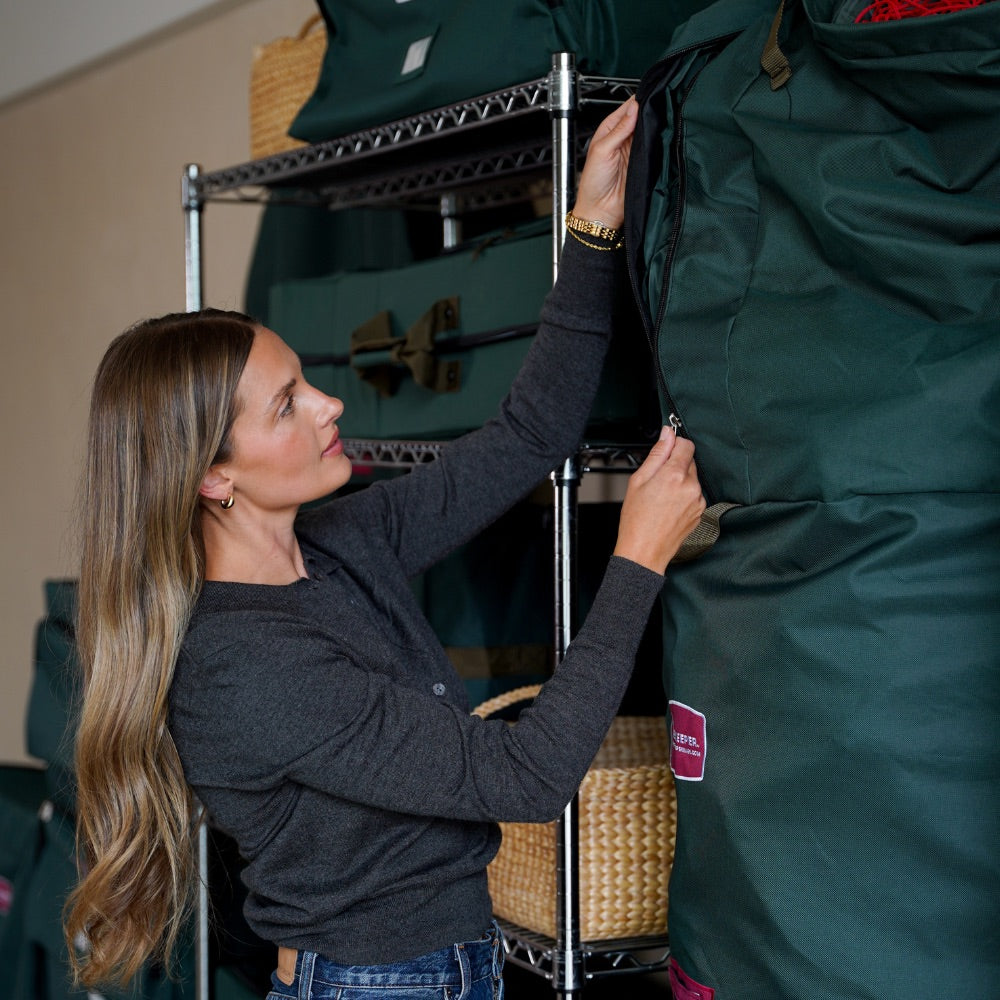
Solution: Direct Suspend Storage
Protect the bottom branches of your wreath with the Foam Lined Wreath Storage bag, which features Direct Suspend™ technology to help your wreath stay perfectly round and ready to hang once you remove it from the bag. The Direct Suspend™ handle is a unique storage hack that allows the wreath to be stored upright and hanging, so there is minimal de-fluffing during the months your greenery is in storage.
This bag also accommodates a variety of wreath sizes, ranging from 24" to 72".
Solution: A Multi-Use Storage Bag
While your greens are guaranteed to need a little fluffing every holiday season before they resume their position on the mantle or entryway, properly storing them will ensure that the branches on your garland aren't irreversibly smashed. A large yet cost-friendly storage bag is a simple solution to protect your garlands from dust, dirt, and distortion.
An easy-to-clean storage option with a duffel bag-like design allows you to tote your greenery anywhere. Opt for a bag with a spot for a "name tag" so you can easily label your garlands according to the desired location, length, or garland type! Take the guesswork out of decorating.
Solution: Rolling Storage
An even more mobile option to gather your greenery is a rolling multi-use storage bag. Vertical storage with a sturdy base like this can be the best option if you want to stack your storage and avoid smashed greenery.
A Few DIY Tips

Proper wreath storage is one of the most challenging Christmas organization endeavors. To keep your wreaths plush and dust-free between set-ups:
- Hang your wreaths from a hanger in the hall closet (attach it via strings).
- Store wreaths in individual garment bags.
- Pile your wreaths in large, cylindrical bins (like old, clean garbage pails)
Artificial Trees:
Avoid Potential Damage
After the gifts are open and the gift wrap cleaned up, it can be tempting to chuck your artificial Christmas tree into the cardboard box it came in. You already spent the money to purchase your tree. Why not save and use the packing box for storage, right?
The storage solution you think to be thrifty can reduce the tree's lifespan and cost you more money in the long run. And the hassle of stuffing the tree back into its box is hard.
Storing your tree in a cardboard box can invite damage from:
- Insects
- Pests
- Moisture
- Mold
- Inadequate space
While they get built to last, artificial trees are not indestructible. And the cardboard boxes they came in are not going to last long either.
Not to mention, cardboard boxes are a hassle to drag to and fro and always seem to break. How many of us had to take it easy the next morning after lugging that massive tree up and down a flight of stairs?
Cardboard boxes provide sanctuary for wandering crickets and cockroaches, making next year's Christmas tree decorating festivities a little less merry and a little scarier.
Once unpackaged, the box your tree came in is usually too small to provide the tree with adequate storage, as your branches have fluffed out irreversibly. If your storage solution doesn't offer the branches of your tree enough room, the branches will be in a permanent state of squish and disarray.
As you attempt to assemble your tree, it can be an impossible task to "right" all the "wrong" branches that have been twisted and gnarled. No one wants to spend an hour of their "tree time" turning the small branches of their artificial tree into the right position!
While disassembled tree storage will inevitably lead to some form of branch "Twister," the right storage solutions will significantly alleviate the tangled mess of lights and bent branches that occur when stored in a cardboard box that's too small.

Solution: Rolling Tree Storage
So, we've established that the cardboard box is not a storage-friendly option to house your Christmas tree year-round.
Suppose you prefer to store your trees traditionally (disassembled). In that case, a large polyester bag with handles and an easy zip-up feature, like the EZ Roller Tree Storage Bag, could be the storage solution for you!
With wheels that make the bag portable and durable fabric that repels moisture and keeps insects out, this is a drastic step up from that dinky cardboard box.
Opting for a bag with easy-to-clean fabric like this polyester and a spot for a "name tag" can help make storing your artificial Christmas tree the easiest (and cleanest) it's ever been.
Solution: Upright Tree Storage
If disassembling your tree after Christmas isn't your thing, a storage solution like TreeKeeper's Large Upright Tree Storage Bag allows you to store your tree fully assembled. What better way to save room for other larger items that need to be stored horizontally (like lamp posts)?
The 'pro' version of this option features a rolling base that doubles as a tree stand.
So, during Christmas clean-up, you can simply grab the bag from where it's hiding under your tree skirt at the base and pull it up and over your tree. This Christmas tree storage solution makes for the easiest tree set up and takes down because you never have to remove the tree's storage bag.
There are so many suitable options to choose from when storing your artificial Christmas tree. Still, a general rule of thumb is to prioritize your tree's size and desired storage orientation when opting for the storage solution that suits you: Horizontal or vertical?
A Few DIY Tips
A tight budget doesn't have to mean settling for a moldy, dusty artificial tree. Here a few DIY Christmas tree storage tips:
- Creating your DIY bag with a tarp — don't forget the carrying handles!
- Divvying up branch attachments into several plastic totes (preferably by size).
- Plastic wrap your entire tree from top to bottom.
Lighting:
Avoid Potential Damage
Untangling and disentwining a jumble of chords that were once Christmas lights isn't an ideal way to begin your Christmas season or guarantee the longevity of your outdoor holiday decor. We shouldn't be breaking a sweat while adding some glimmer to our trees!
Storing your string lights loosely in your storage space can cause tangled cords and potential bulb breakage or invite pests to chew on the wires.

Solution: Storage Spools
Lighting storage may not be at the forefront of your post-holiday clean-up plan, but the way you house your Christmas bulbs can make or break their lifespan.
Christmas World's Install N' Store™ Light Storage bag gives your lights the chance to rest in between seasons from weather damage, so you don't have to justify keeping your lights up year-round. Trust me. We've all been there.
The spools keep your lighting cords and cables from getting tangled or chewed on while in storage and keeps your bulbs from getting smashed. It also includes a Versa Clamp™ tool that holds your reels on a rain gutter or ladder.
Dad's dreaded task of making sure the lights go up before December 1 and come down before February 1 just got a lot easier.
A Few DIY Tips

Do you want to cut costs on both the light storage solutions and brand new sets of lights each Christmas? Try the following DIY tips and bring out your inner creativity by wrapping:
- Your longer string lights around sturdy strips of cardboard (a makeshift spool).
- Smaller sets around a plastic hanger.
- A twist tie around wound-up string lights to prevent tangling.
As enticing as it might sound, don't hang your Christmas lights from a hook in the garage! This year-round hanging can pull on the interior wires and leave you with blown-out lights next year.
Gift Wrap:
Avoid Potential Damage
Every Christmas, those wrinkled ends of the wrapping paper tubes create an unsightly layout for your next wrapping job. And you can't even begin wrapping that oddly-shaped toy until you slice off the edges of your latest tube — what a waste of perfectly excellent paper (and a lot of work!).
The culprit of these creased and crinkled tips is improper wrapping paper storage.

It may seem like you have no other option than to stuff your rolls of gift wrap, loose paper bags, and reusable ribbons and bows into the nearest open crevice of your linen closet. But there are storage solutions available that make reaching for the wrapping paper much easier!
Solution: Dual-Purpose Storage
Give Santa's workshop a run for its money with a storage solution that serves as a dual-purpose gift wrap station and a craft and holiday wrapping storage bag.
The durable fabric and zip-up storage will help ward off pests and keep mold from ruining your Christmas gift wrap. With compartments for tissue, tape, and everything in between, this portable storage solution is perfect for maximum storage and can be stored vertically for space-saving or horizontally.
Solution: Simple Storage
Perhaps you don't need storage for all the gift wrap trimmings, and you only want to store your tubes of wrapping paper.
The wrapping paper storage tube is a straightforward, simple storage solution that keeps out pests and moisture and allows mobility to tote your wrapping paper to wherever your next gift wrap destination is.
A storage solution with a see-through window like this will help keep the organizational peace, and you won't have to spend time sifting through rolls of wrap.
A Few DIY Tips

Many of these storage solutions cost more than the wrapping paper itself. So, if you're looking for a cheap (or free) DIY method:
- Lie the tubes horizontally across two large wall hooks.
- Hang your gift bags on hangers in your hall closet.
- Create a DIY wrapping paper storage rack (perfect for easy measuring and cutting!).
The trick to damage-free wrapping paper is storing your tubes horizontally where they're not sitting on their end.
Bonus Tip: Desiccant Packs
If you're worried about mold in a storage spot that's prone to moisture (like a humid basement or leaky garage), you can pop some desiccant packs into each storage container.
Desiccant packs act as mini dehumidifiers. In other words, the tiny silica gel beads in each packet will help to soak up the lingering moisture that's giving your artificial tree that odd smell.
However, desiccant packs typically only last 4-12 months. So, don't forget to replace them each year or even once a season if your storage spot has a super high humidity (50%).
Step Five: "Prioritize before you Organize."

You're one step away from a neat and orderly house in the days following Christmas! This final step will help keep your holiday decor in tip-top shape and finally introduce "Santa's Bag."
Kids always wonder how Santa gets to billions of houses across the globe. But think back to your childhood: How did Santa know which presents belonged to which child!?
That's an easy one: Santa organized the bag in the order of houses!
When you organize using Santa's Bag System, you prioritize your storage space in order of what you need to reach for first, just like Santa's trusty bag.
Once you've chosen the right storage solution for each category of decor, think about your holiday set-up and which item you'll reach for first on December 1. I like to get into the Christmas spirit early with tabletop decorations, so what do you do first?
- Is it your rooftop lights?
- Your artificial tree and ornaments, perhaps?
- Or maybe it's your gift wrap?
Tradition usually calls for order. And if you have no established order, now is the perfect time to create an order that you can carry over into the remaining 11 months.
Use this printable checklist and take the time to organize your list in order of what items you use to start your holiday decorating with, to the last things you reach for in December. Or whichever items aren’t usually out on display the whole month, like wrapping paper.
For example, my list might say:
Outside Items First:
- Hang roof lights
- Outdoor topiary trees
- Tree Lights
- Wreaths + Garlands
Indoor Items Next:
- Blankets & Pillows go out first
- Take the tree out
- Tree lights
- Ornaments / Tree topper
- Put the tree skirt on and set up the train set around the tree skirt
- Tabletop decor: Christmas village, nativity
- Indoor garland goes up
- Stocking holders, stockings, and mantle decor are last
A more detailed list may look like this:
Family Room:
- 12’ family room tree
- Stair rail garland and decorative garland on mantle and hutch
- Upstairs wooden village
- Upstairs mantle and hearth
- Kitchen decor and table centerpiece
Downstairs:
- Downstairs tree
- Downstairs village
- Downstairs garland with Nutcracker collection
- Downstairs bathroom decor including Christmas storybooks
Front Room:
- Front Room tree (small upright tree bag, one ornament keeper)
Outside:
- Outside garland (one multi-use bag)
- Outside porch lanterns
- Outside door decor
- Outdoor house wreath (48” wreath bag)
A Few Extra Tips

Just like Santa keeps a list of who’s naughty and who’s nice, jotting down your organizational system can help you stay on top of what goes where — whether you have a seven-room line-up or only decorate your living room and porch.
Now, take your list and start from the bottom.
Begin organizing your closet, garage, and storage shed in the reverse order so that your first Winter Wonderland decorations are always within arm's reach. Obstacle courses are fun, but not when you're climbing over fragile ornaments or dodging boxes as they fall from the shelves!
Place items from the bottom of the list in your storage space first. Then, work through the list until everything from the top of the list sits on the front lines of your storage space.
When it’s time for snowmen and stockings, your storage space will be ready to go. And with your list in hand, Christmas set up and take down will be a breeze.
Give it a try!

Now that you’ve made a list and checked it twice, it’s time to put your plan into action and try the Santa’s Bag System for yourself!
Whether you’re at war with a tiny linen closet or want to reorganize the designated seasonal shelves in your garage, the Santa’s Bag System will help you reach your organization's goals this year.
To help minimize post- and pre-Christmas chaos, refer to your printed list each year to maintain the order you'd like to keep your decor stored in during the year. And Christmas can continue to bring peace and joy, even after the decorations are in storage.
Did you try our Santa’s Bag System for a more organized Christmas clean-up? Let us know how it worked for you by leaving a comment!


Leave a comment
This site is protected by hCaptcha and the hCaptcha Privacy Policy and Terms of Service apply.